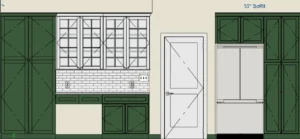
A Detailed Guide to Kitchen Cabinets
If you are looking into a kitchen remodel you may have done one of two things; scanned through ideas on the internet or visited a cabinet showroom. More than likely you have encountered fancy terms that are challenging to comprehend. Who has ever heard of a European overlay anyway? Show rooms and descriptive design ideas can be intimidating, even for the trained eye, and can often be overwhelming.
Don’t worry! Keep calm and read on.
Cabinet design is a fun way to spice up your kitchen. Although choosing a design that fits best with your kitchen can be an obstacle. Understanding the 3 “F’s” of cabinetry will help you navigate your kitchen remodel with ease.
Frame:
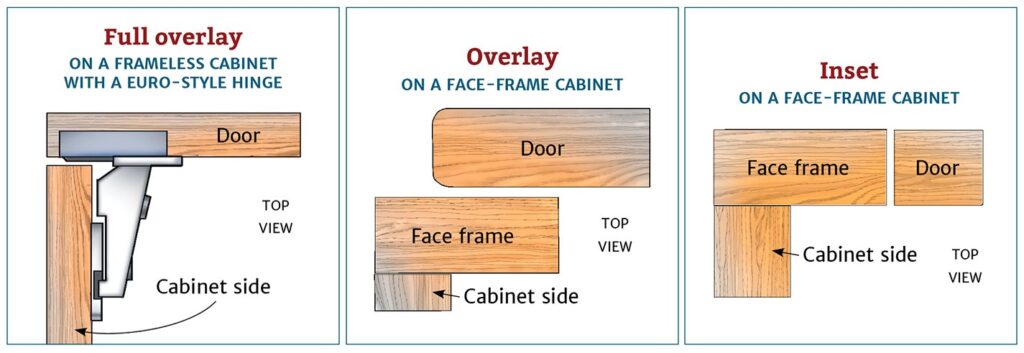
The frame is the front wall of the cabinet. It holds the door in place and gives you access to everything inside. Today there are 4 common types of overlay. European, ½, full and inset.
- In a European, or Euro overlay door there is no frame. Instead the door attaches directly to the side of the cabinet. This is a very streamline contemporary look. That can also be on the pricey side. $$
- 1½” overlay is exactly what it sounds like. The door leaves a ½” reveal where you can see the frame underneath. The cabinets at the big box stores typically are ½” overlay. $
- Full overlay, is a little trickier, because it’s not truly a full overlay (that would be Euro Overlay). In a Full overlay there is a very small reveal typically between ¼” and 3/8”. This is the type of overlay normally sold by higher end cabinet dealers. The cost is comparable to ½” overlay but they have a much cleaner look. $
- Inset cabinets have the door inside the frame. This is a classic farm house look that has become extremely trendy. However, inset doors, while beautiful have their down falls. They are a more expensive box and can take twice as long to install correctly. To support the doors they have a wider frame that restricts access into the cabinet box. Warping is also much more of a problem with inset cabinets then with overlaid ones. There is only about ¼” of wiggle room for these doors so just a little swelling can be a giant pain. $$$
Finish:
There are literally dozens of cabinet material & finish combinations on the market today. Since wood is still the most popular in the US, we’ll keep it simple and just go over those options.
- Natural can be exquisite, especially if you love the look of wood. All it has is a clear coat to protect the wood. Walnut, in particular, really shines with this option and looks great in a water-front or mountain home.
- Stained still shows the natural beauty of the wood but darkens the wood’s hues. Different types of wood absorb stain differently, sampling multiple stains on several types of woods will help you find the one that is right for you. It’s important to note that stain can be applied in different ways. It can be sprayed on by a machine which gives a more even coat, or it can be handed wiped which gives it a more authentic, artisan feel. Both are fine options, it just depends on what look you are going for.
- Painted, is normally an upcharge. It’s a slightly more involved process and maple, which is a higher end wood, is the wood of choice for a smooth surface. Most cabinet lines offer several whites and a handful of other standard colors. For an additional upcharge, higher end cabinet lines will often match any major brand paint color or even do a custom match for you.
- Glazes give that old world antique charm that adds depth to your cabinets. They are an extra coat of stain, normally in a darker color that is applied on top of a stained or painted finish. The glaze sticks in the groves of the cabinet door enhancing the shadows and contrasts. There are two ways to apply a glaze; by machine or by hand. A glaze applied by hand is far superior. A machine draws a line of glaze in the groves of the cabinet. A person carefully wipes on and wipes off stain from the whole cabinet door creating a much more casual and authentic look.
Finished Ends:
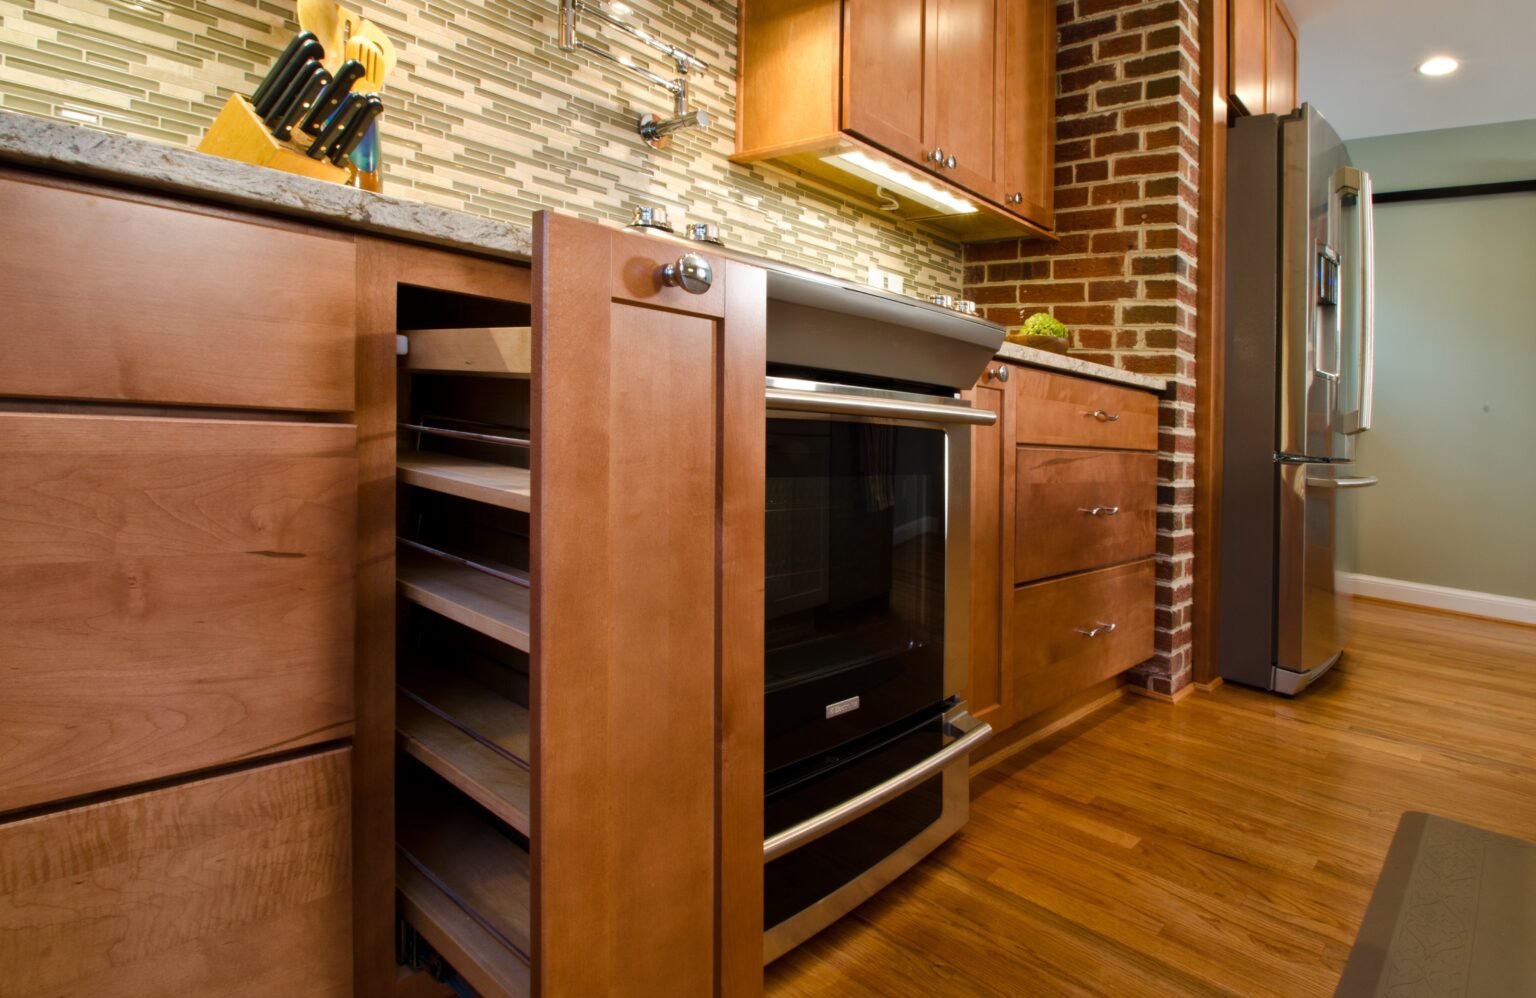
Cabinets are built to be viewed from one angle, the front! When the end of a run of cabinets is not against a wall you see an unattractive, unfinished side panel. To avoid this you specify a finished end with your carpenter. This means the side panel is finished in the same manner as the front. Because of the way boxes are constructed there will be at least a 1/8” lip created by the face frame separating the finished end. This is a go-to option for a standard or entry level kitchen. In fact, your current kitchen may have this style of end and, most likely, you have never noticed the little lip. In a higher end kitchen, you should really step it up a notch.
- Nearly finished ends, or furniture ends, alter the construction of the end box to eliminate the lip. This gives you a smooth corner and just looks more high end.
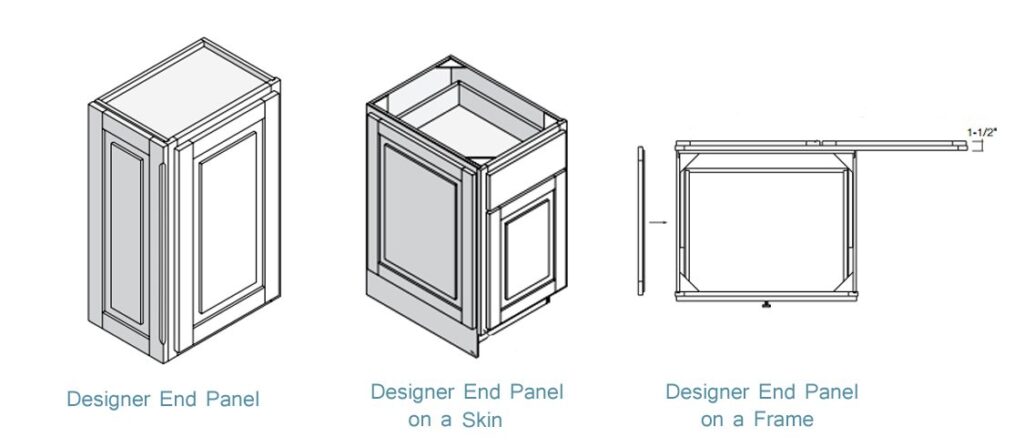
- “Designer end panels” are essentially a larger version of your door that is applied to the edge of your face frame. This can cause the face of your cabinet to look off center so be weary when incorporating this design.
- “Designer end panels on a skin” is a large door on a 1/8” skin. These panels extend right up to the lip of the cabinet so the end panel looks just like another door. This option has an extra advantage, the skin extends all the way to the floor concealing the end of the toe kick.
- “Designer end panels on a frame” are basically a second face frame. It will look exactly like the front. The added advantage to this option is that you can hinge this panel, so you can access the cabinet from both sides. If you select this option, I recommend recessing the side toe kick to match the front.
The details of a cabinet order can be extensive. Fortunately, you now know the 3 “F’s” of cabinetry and should be able to work knowledgeably with a designer to create the perfect look for your home!
If you have more questions about cabinets or would like to visit our design lab give Merrick a call today, 301-946-3256